If you want your Twitch stream to be easier to watch with sound off, pixel closed captioning for twitch streaming can be a simple upgrade. In practice, “Pixel” usually points to Pixel Chat’s closed captions overlay, which puts live subtitles directly on your broadcast. You’ll also hear about Twitch’s CC button, Twitch extensions like Stream Closed Captioner, and creator tools inside OBS Studio, Streamlabs Desktop, and Lightstream. This guide shows what each option does, how to set it up, and how to keep captions readable, accurate, and on-brand—without wrecking your gameplay view.
Quick Answer
Pixel closed captioning for twitch streaming usually means using a Pixel Chat caption overlay to show live subtitles on your broadcast. Set it up as an overlay source in your streaming software, style it for mobile readability, and test accuracy before going live.
TL;DR
• Pixel Chat is an on-screen caption overlay option.
• Twitch captions can also appear via the CC button.
• Extensions work great when viewers want a toggle.
• Good captions need contrast, size, and safe margins.
• Fix most issues by checking audio input first.
What Pixel Closed Captioning Is on Twitch
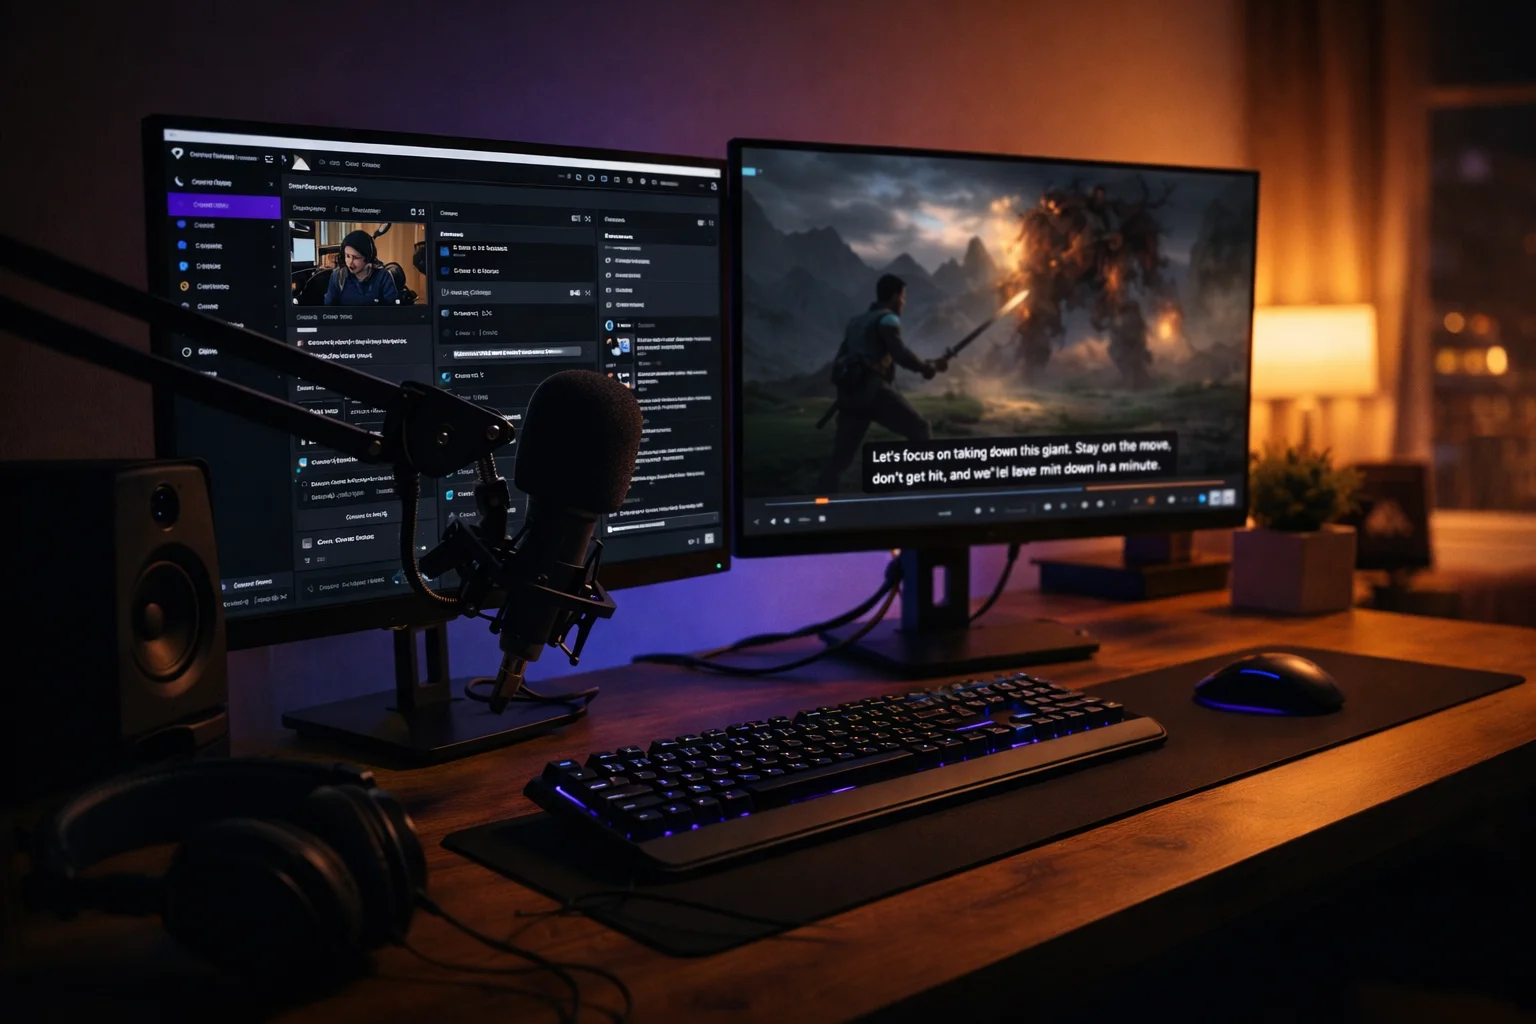
Pixel-style captions are basically live captions that appear as on-screen subtitles while you talk.
So even if viewers are muted, your message stays clear, improving accessibility.
• Converts speech into readable text during live streams.
• Helps deaf and hard-of-hearing viewers follow along.
• Supports muted viewing during work or commutes.
• Reduces confusion in noisy, fast gameplay moments.
• Makes callouts clearer in team-based games.
• Helps non-native speakers track your words.
• Adds structure to chaotic streams and reactions.
• Lets viewers quote moments accurately in chat.
• Makes tutorials easier to follow step-by-step.
• Creates a more welcoming channel vibe overall.
• Improves clarity when your mic audio dips.
• Gives mods better context for chat disputes.
Pixel Chat Closed Captions Overlay
Pixel Chat offers a Pixel Chat option called Pixel-CC as a caption overlay.
It’s designed to sit on-screen, so viewers see captions automatically.
• Create the overlay inside your Pixel Chat dashboard.
• Copy the overlay link from the overlay area.
• Add it as a browser layer in your scene.
• Choose a placement that avoids gameplay UI.
• Use two-line captions for faster reading.
• Keep the caption box wide, not tall.
• Pick a font that stays clear at 720p.
• Add a subtle background panel behind text.
• Avoid neon text colors on busy games.
• Test captions while speaking at stream pace.
• Keep your mic close to reduce missed words.
• Save a “Just Chatting” scene optimized for captions.
Twitch CC Button Basics for Viewers
Twitch captions can appear with a CC button, plus caption settings viewers can adjust.
However, it only shows when the streamer is sending captions for that stream.
• Viewers look for the CC icon in the player.
• The CC icon can appear on streams and videos.
• Captions can be turned on or off anytime.
• Viewers can adjust caption display preferences.
• Tell viewers where the CC icon usually sits.
• Pin a short “Captions available” note in chat.
• Mention captions during your starting soon screen.
• Remind mobile viewers to update the Twitch app.
• Explain that not all channels support CC by default.
• Encourage feedback if captions look too small.
• Avoid covering the CC icon with overlays.
• Keep an accessible “How to enable CC” panel.
Stream Closed Captioner Twitch Extension
If you want a viewer-controlled approach, a Twitch extension works like a video overlay.
Stream Closed Captioner is commonly used because viewers can manage it, then start captions easily.
• Install the extension on your Twitch channel dashboard.
• Complete account setup before your first test stream.
• Open the extension control page in a browser.
• Start captions when you go live, not earlier.
• Confirm captions appear for a second device test.
• Ask a friend to verify on mobile and desktop.
• Keep captions movable so viewers can reposition.
• Use a simple layout that doesn’t block gameplay.
• Add a short command: “!cc” for instructions.
• Note that accuracy improves with clear mic input.
• Stop captions when you end stream to reset.
• Re-check settings after Twitch dashboard changes.
OBS Plugin That Feeds Twitch Captions
Some creators prefer an OBS plugin that uses speech recognition and works on VODs.
This approach aims to push captions into Twitch’s caption system, not just an on-screen overlay.
• Install the plugin version that matches your OBS build.
• Set the correct microphone input inside OBS audio settings.
• Choose the right language model for your speech.
• Keep background music low to protect accuracy.
• Speak names clearly during raids and shoutouts.
• Test captions privately before a public stream.
• Verify captions appear with the CC toggle.
• Confirm captions persist when you create clips.
• Reboot OBS if the plugin fails to initialize.
• Keep your operating system audio devices tidy.
• Avoid switching mics mid-stream without testing.
• Update the plugin when OBS updates frequently.
Ultimate Closed Captions for Translation
If you want broader reach, real-time translation can help alongside multilingual captions.
Ultimate Closed Captions focuses on translation features for a global audience.
• Use translation for international community nights.
• Start with one extra language your chat requests.
• Keep original language visible for accuracy checks.
• Test translated captions for slang and game jargon.
• Avoid translating private or sensitive messages.
• Add a “Translation may vary” note in panels.
• Use shorter sentences for better translation output.
• Pause briefly between thoughts to reduce errors.
• Use consistent names for teammates and maps.
• Keep the caption area clear of sponsor banners.
• Don’t translate copyrighted lyrics during music moments.
• Review community feedback after each test stream.
Quick Setup in OBS Studio with a Browser Source
For overlays, OBS Studio setup often uses a browser source with an overlay link.
Once added, you can style the overlay and lock it in place.
• Add a new Browser Source to your scene.
• Paste the overlay link into the source settings.
• Match width and height to your stream canvas.
• Set FPS reasonably for smooth text updates.
• Check “Shutdown source when not visible” carefully.
• Enable “Refresh browser source” if text freezes.
• Lock the source to prevent accidental dragging.
• Place captions above your webcam frame, not below.
• Add padding so letters don’t touch the screen edge.
• Keep captions away from kill feeds and minimaps.
• Build a separate scene for full-screen chatting.
• Record a short test clip and review readability.
Streamlabs Desktop Setup for Caption Overlays
In Streamlabs Desktop, captions still live as a scene source layer.
The trick is keeping your layers clean and easy to manage.
• Add a Browser Source in your selected scene.
• Paste the overlay link and confirm it loads.
• Resize the source using corner handles carefully.
• Use “Transform” options for precise positioning.
• Group caption elements with your chat box layer.
• Lock the caption layer after positioning is correct.
• Use a consistent font across all overlay elements.
• Keep captions above alerts to avoid clashes.
• Avoid placing captions on top of subtitles graphics.
• Test with your usual game capture resolution.
• Export scene collection as a backup file.
• Re-check captions after Streamlabs updates.
Lightstream Setup for Pixel Chat Overlays
If you stream through Lightstream, you can add Pixel Chat as a third-party layer.
You’ll typically copy a direct overlay link from your Pixel Chat overlays list.
• Create your Pixel Chat overlay before editing Lightstream.
• Copy the overlay link using the overlay menu option.
• Add a third-party integration layer in Lightstream.
• Paste the overlay link and save the layer.
• Place captions where they won’t block your facecam.
• Use Lightstream’s layer ordering to keep text visible.
• Test captions in a private stream before going live.
• Keep the overlay size consistent across scenes.
• Avoid tiny text when streaming at 30 fps.
• Build a “BRB” scene where captions are unnecessary.
• Use a clean background panel behind caption text.
• Document your overlay links in a private note.
CaptionNinja as a Flexible Overlay Option
If you want a customizable CaptionNinja web overlay, it’s a flexible choice.
It’s often used when you want tighter custom styling.
• Use CaptionNinja when you need more styling control.
• Keep the caption box large enough for two lines.
• Choose a readable font, then stick with it.
• Use a dark semi-transparent background panel.
• Keep text color neutral for maximum contrast.
• Avoid excessive animations that distract from captions.
• Use consistent punctuation for better readability.
• Add a mild shadow to separate text from gameplay.
• Leave safe space for Twitch UI on mobile.
• Test captions with fast talking and excitement.
• Save presets for different games and layouts.
• Keep a fallback overlay ready if anything breaks.
Browser-Based Captions Using WebCaptioner
A simple method is using WebCaptioner in a Chrome tab as a captions window.
Then you capture it as an overlay source in your streaming setup.
• Open WebCaptioner before you launch your stream.
• Select your microphone input inside the browser tool.
• Speak a few sentences to confirm recognition works.
• Capture the captions window via browser source or display.
• Crop the capture so only captions remain visible.
• Use a background panel to prevent flickering readability.
• Keep the browser tool on a dedicated monitor.
• Disable noisy tabs that steal microphone focus.
• Avoid chewing or keyboard clacks near the mic.
• Reduce music volume during heavy talking segments.
• Reset the page if captions stop updating.
• Treat this as a quick backup option.
Make Captions Readable on Mobile
Mobile viewers need safe margins, bigger font size, and strong contrast.
So design your captions like a UI element, not decoration.
• Keep captions within the middle third of the screen.
• Use at least a medium font size for 1080p.
• Avoid thin fonts that break on compression.
• Use high contrast between text and background.
• Add padding around text for easier scanning.
• Limit line length to avoid rapid eye movement.
• Avoid placing captions under the Twitch chat overlay.
• Don’t overlap subtitles with in-game HUD elements.
• Use sentence breaks to reduce long caption blocks.
• Keep captions stable; avoid bouncing position changes.
• Test your stream on a phone before publishing.
• Make a “Mobile-friendly captions” checklist you reuse.
Reduce Delay and Improve Accuracy
Great captions depend on low latency, solid mic quality, and clear enunciation.
If you tune your audio chain, captions instantly look smarter.
• Place your mic close, then lower gain.
• Use a noise gate lightly, not aggressively.
• Reduce keyboard noise with simple desk padding.
• Speak slightly slower during key instructions.
• Pause briefly between sentences for better segmentation.
• Avoid talking over game cutscenes when possible.
• Keep background music lower than your voice.
• Use a compressor to even out volume spikes.
• Warm up with a five-minute mic check routine.
• Rename custom terms to simpler words mid-stream.
• Restart the caption tool if delay grows.
• Prefer wired internet to avoid jittery updates.
Add Speaker Labels for Co-Streams
For collabs, speaker names matter during a co-stream, especially with multi-captions.
So viewers always know who said what, even during chaos.
• Add speaker labels when two people share a scene.
• Keep each speaker’s captions in separate zones.
• Use consistent name tags like “You” and “Guest.”
• Avoid switching label colors too often.
• Ask guests to use a decent mic too.
• Keep guests slightly quieter than your main voice.
• Agree on a talking order during key moments.
• Use hand signals to avoid overlapping speech.
• Caption “laughter” only when it adds real context.
• Avoid captioning private side talk on public streams.
• Test co-stream captions during a short private call.
• Create a dedicated “Podcast” layout for multi-speaker chat.
Troubleshoot When Captions Aren’t Working
Most caption failures come from audio source issues, missing permissions, or needing a refresh.
So start with the simplest checks, then move outward.
• Confirm your mic is selected in your caption tool.
• Check OBS audio meters to verify input movement.
• Ensure your mic isn’t muted in Windows settings.
• Reconnect USB mics if the device disappears.
• Refresh the browser source if the overlay freezes.
• Reload the extension control page if it stalls.
• Verify Twitch extension is activated for the channel.
• Check overlay layer ordering so captions aren’t hidden.
• Confirm you’re logged into the correct Twitch account.
• Restart OBS or Streamlabs after major setting changes.
• Test captions on a second device as a viewer.
• Keep a backup caption method ready for emergencies.
Accessibility Etiquette and Stream Flow
An inclusive stream feels intentional, especially with chat moderation and clear content warnings.
So treat captions as part of your show, not an afterthought.
• Tell viewers captions may have occasional errors.
• Encourage viewers to report mis-captioned slurs quickly.
• Add a chat rule: no mocking caption mistakes.
• Use mods to remove harassment targeting disability.
• Avoid captions covering critical safety information on screen.
• Provide clear rules during community nights and events.
• Announce when you switch languages or accents.
• Use simple phrasing when giving instructions or guides.
• Consider adding trigger warnings for sensitive topics.
• Keep captions visible during important announcements.
• Thank viewers who help you improve caption quality.
• Make captions part of your channel identity.
FAQs
How do I add a Pixel Chat overlay?
Create the overlay in Pixel Chat, then copy the overlay link from your overlays area. Add it to your streaming software as a browser-based source or layer, then position it where it won’t block gameplay.
Does Twitch have a built-in CC option?
Twitch can show a CC button when captions are available for that stream or video. If you don’t see the CC icon, the channel likely isn’t sending captions for that content.
How do viewers turn on captions on Twitch?
Viewers can click the CC button in the player when it’s available. They can also adjust caption options from the player settings if the stream provides captions.
Will captions work on mobile and on VODs?
Some caption methods show as part of the video itself, while others rely on Twitch’s caption system or an extension. Always test on a phone and check a saved video after a stream to confirm.
Why are my captions delayed or inaccurate?
Delay and errors often come from noisy audio, low mic volume, or unstable connections. Improve mic clarity, lower background audio, and restart the caption tool if drift grows.
What’s the easiest backup if my main captions fail?
A browser-based caption tool can be a quick fallback. Keep a simple overlay layout saved, so you can switch scenes fast if something breaks.
Conclusion
With pixel closed captioning for twitch streaming, you can make your channel easier to watch, even on mute. Pick the method that fits your workflow, test it on mobile, and keep captions clean and readable.